
Laser Cuts is a Figma plugin that makes it easy to work with real-world units in Figma. It has support for spacers, unit conversions and cut operations that can be exported from Figma.
I built this to make my life a bit easier when designing things to be printed with a laser cutter.
What is a laser cutter?
A laser cutter is a device that helps you cut, engrave or score different materials using a laser. It can cut through materials like paper, wood, and plastic.
At our makerspace, the laser cutting machines have dedicated computers that run printing software. In order to use the machines, we have to make our designs with Adobe Illustrator and export them.
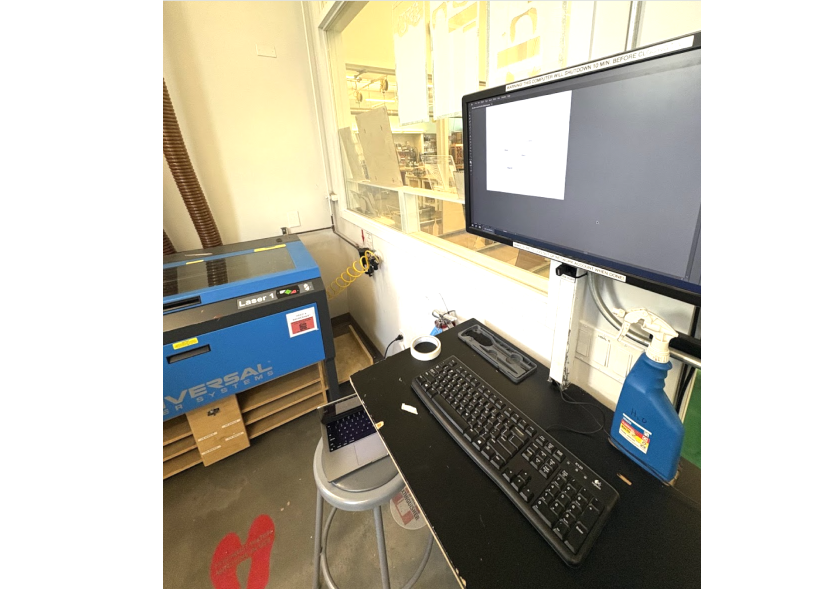
This machine sends the print over to the laser cutter
Illustrator is good for laser cutting because it has built-in support for real-world units like inches and millimeters. But it’s a fairly advanced tool to use.
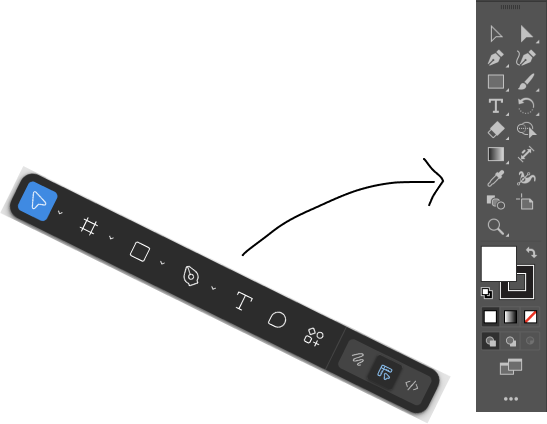
Going from Figma, all the tiny Illustrator tools can feel overwhelming
The Plugin
Laser Cuts has a couple tools to make it easier to work with real-world designs in Figma. Don’t hold me to it, but it’ll get you within a millimeter or two of your intended design.
Ruler
The ruler provides real-world units for Figma objects. Selecting any object with this tab open will allow you to scale it to real units. By default, Figma only shows pixels. So without a ruler, it’s hard to know what a 200px wide by 400px tall rectangle would print as.
How do you know what a 200px • 400px rect will print?
DPI, or dots per inch is a resolution measure that lets you convert from pixels to inches. By default, Figma uses a screen-independent DPI of 72. This means that for every inch, there are 72 pixels. We can use that knowledge to get a ratio to convert a pixel length into a real unit.
Spacers
The spacers tab makes pre-dimensioned rectangles that can be used as guides when designing. Spacers are useful when adding constraints to a design. They can help make sure things are consistently placed from the edges and that holes are the right distance apart.
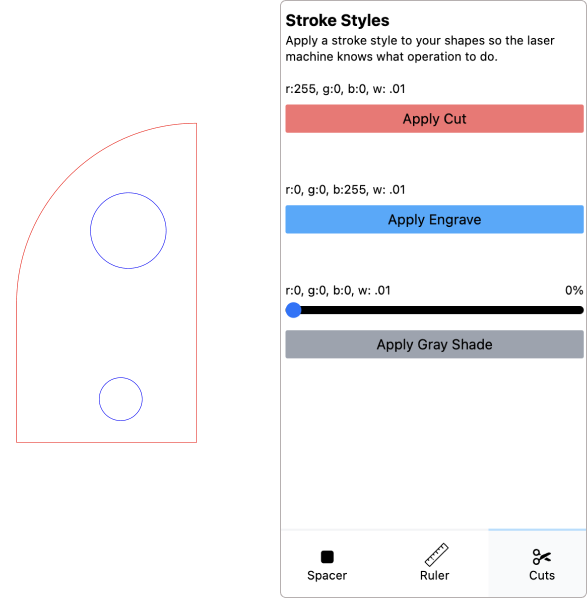
Cuts
The laser cutter uses some special stroke colors that tell it to cut, engrave or raster. For example, our printer uses red lines to designate a cut operation, and a blue line for engraving (lower power). The cuts tab can apply a stroke to your selected shape.
Exporting
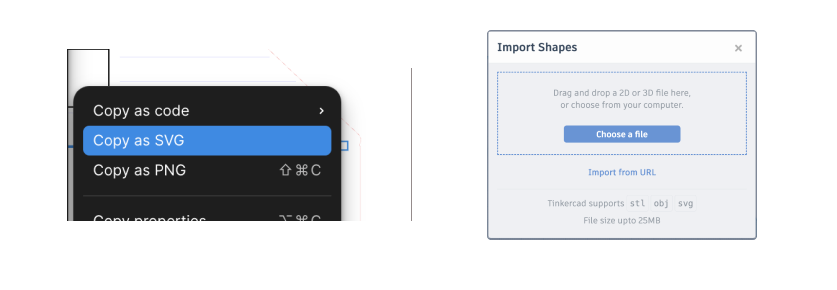
The laser cutter still requires an Illustrator file for final printing. To export designs from Figma into Illustrator, you can copy your final object as an SVG to be printed.
I’ve also had success with using the exported SVG alongside CorelDraw, Cricut Design Space and Tinkercad for other hardware crafts. If you’re looking to do 3D printing, you can import your scaled 2D SVGs into Tinkercad and extrude them.
Figma Wins
Using Figma for real objects offers some productivity wins. There might be ways to do these in Illustrator or more advanced CAD tools like Onshape, but Figma makes them easy as well.
Components
Figma components are super helpful when re-working things in an assembly. For example, changing a 1/4" hole to a 1/8" hole throughout my design is seamless. This makes prototyping with repetitive elements much easier.
Intersects and Unions
Figma unions and intersections are convenient ways to create more complex 2D shapes. For example, to make a house, you can join a triangle and a rectangle and cut a new shape.
Canvas
Since Figma is a UX/UI design tool, it works well for iterations. Because of its infinite canvas space, I’ve found it much easier to create variants of parts alongside other media.
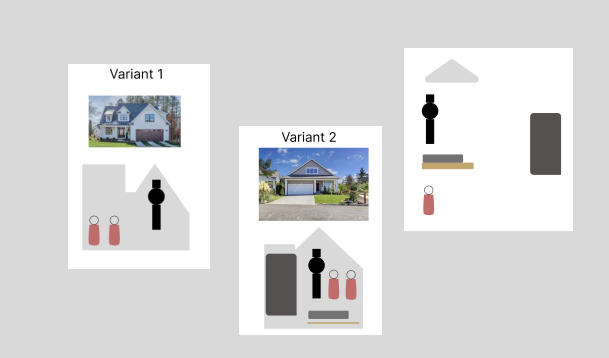
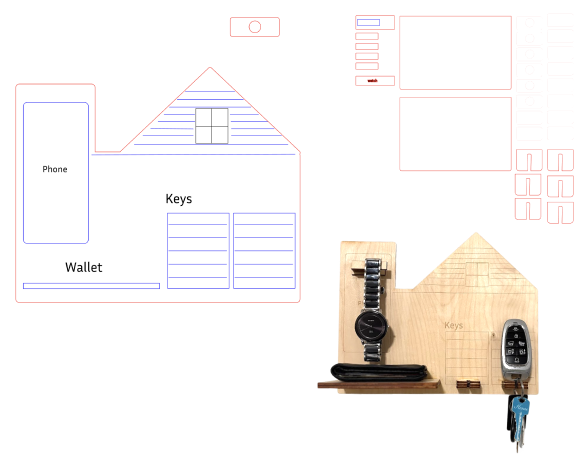
My finished phone, key, watch and wallet holder
Give the plugin a try. It’s also open-source, in case you want to make it better. Happy laser cutting!